T-shirts & other pre-manufactured clothes
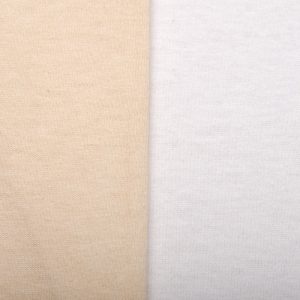
T-shirts and other clothing gives best results if the fabric has a high cotton content, so avoid too much or purely synthetic fibre clothing.
You’ll need to ensure that the t-shirt is very clean before starting the dyeing process. To get your threads super clean, you can scour the fabric using Soda Ash powder. This process helps removes the various waxes and oils that prepared, store bought fabrics often have covering the fibers of the fabric on the clothing.
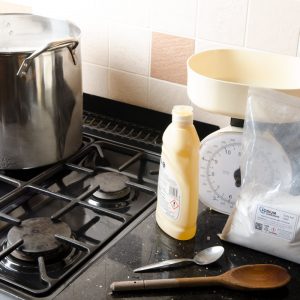
You’ll need:
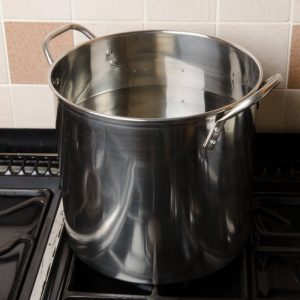
– A big non-reactive cooking pot or saucepan (i.e. one without a non-stick coating), big enough so the fabric will not be crowded.
– Your Soda Ash powder, which is also known as Sodium Carbonate and Washing Soda. This can be sourced competitively via online marketplaces or large supermarkets.
– Fabric detergent or washing up liquid. Beware of any additives in what you use, such as softeners or brighteners (in laundry detergent) or moisturizers (in liquid soap) which might leave residues on the fabric. Remember, you’re trying to strip the fabric clean. For best results, use newly purchased garments straight from the store or online. We also recommend choosing any clothing from ethically sourced cotton trade, your supplier should be able to provide you with more information.
– Your kitchen stove or hob, making sure it’s big enough to fit your saucepans on.
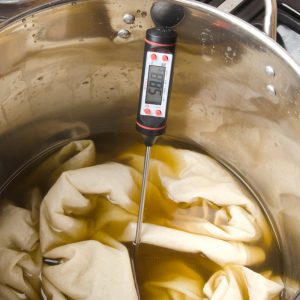
– A thermometer – Digital preferably, with a probe attachment to dip into the fluids used.
– Good quality rubber gloves.
Remember that as simple as it might sound, dying your own fabrics is not without risks, so please ensure that you’re well prepared to avoid any accidents.
Before handing dyes and starting the dyeing process, make sure you’ve got plenty of space to place your equipment. You may wish to use a couple of plastic containers, buckets or washing up bowls depending on the volume of fabric you wish to dye, so think ahead before hand and clear enough room for your equipment.
- Use good quality protective gloves, particularly when handing warm fluids and when dipping your fabrics into the dye pot. Don’t re-use any containers for food purposes once you’ve used it for fabric dyeing.
- Whilst our natural dye is not an irritant, you may wish to use a face mask so that you don’t breathe in any fine particulate when measuring out the leaf powder.
- Take additional care when handling any scouring chemical, ensure that you’ve read any advice instructions on your supplier’s packets.
- Don’t eat, vape, smoke or do anything when dyeing or scouring that involves handling objects that you may bring to your lips.
- It’s best to work in a workspace with good ventilation, without young children or pets around.
- Wear old clothes, aprons and other clothing you don’t mind getting stained or wet. If you like your workspace or work table as it is, it’s probably a good idea to cover it with a suitable protective sheet before starting to work.
How to clean your garment:
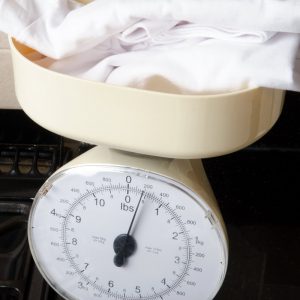
How much water should you use? The fabric should have plenty of space for movement and soaking within the pot, so make sure that you don’t try dyeing too much at once. We recommend 2.26 liters / 2 quarts of water per 28g / one ounce of cotton fabric. This may mean you’ll have to scour in smaller batches to do it properly.
Recommended quantities of soap and soda vary somewhat from source to source. We don’t consider exact ratios to be hugely important, however these figures should provide you with a starting point to then begin to develop your best technique after practicing.
For even more effective fabric cleaning, add anywhere between 2 to 3 teaspoons of washing soda (3 teaspoons is a tablespoon) and 1 to 2 teaspoons of detergent for every 4 liters of water that you are using.
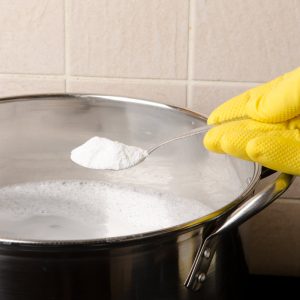
Don’t forget to use protective gloves when handling washing powders, detergents and chemicals. Also, make sure that you’ve selected suitable clothing / aprons before starting too.
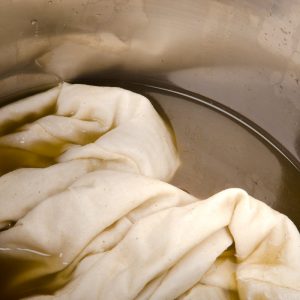
Once you’ve added the chemicals listed above to the water, carefully add the fabric and turn on the heat. Don’t boil, however bring the water to a simmer and keep it there for a minimum of two to four hours, the longer the better within that range.
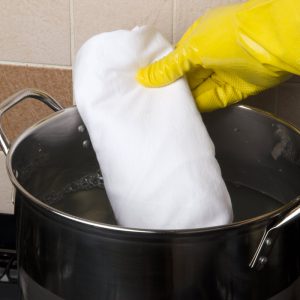
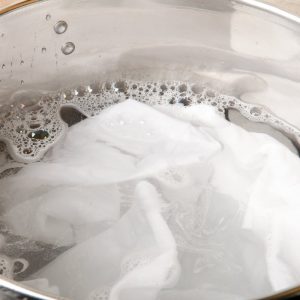
Stir the fabric occasionally with a long wooden spoon to make sure it launders evenly. You’ll notice that the water will begin to change color to a yellowish hue.
It will become apparent that the fabric is very clean after at least a couple of hours, so once you’ve reached this point, carefully lift the garment from the pot and drain the water.
Rinse your garments thoroughly with running water for a few minutes to remove any scouring chemicals. You can use a colander or a salad spinner to assist with this step.
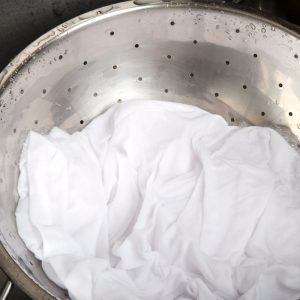
From this point you can go straight on to the dying process with the fabric wet, or you can dry it and store it like freshly cleaned laundry.
How to dye your t-shirt using our natural dye:
- As a general guide, use around 100-250g of natural dye powder for each batch of t-shirts that you wish to dye.
- Add at least 2-3 litres of water (or enough to submerge a t-shirt in a washing up bowl or bucket).
- Take the 100-250g of dye powder and add this to 2-3 liters of hot, simmering water which is at least 90 C. Keep raising the temperature until just about boiling and then simmer the mixture whilst stirring for at least 30 mins. This will allow the dye from within the plant material to leach into the water.
- Turn off the heat and allow the water to cool down to around 70C max. For best results, you can leave the dye mixture to cool down overnight and then resume your project the next day.
- Once the mixture has cooled down, you can strain off any dye powder that remains. This makes it easier to clean your garment after the dyeing process – it’s not essential however since the dye material is quite fine and can be rinsed off. Decant the top layer of liquid into a large container. You can then use an old tea towel or large filter paper to get the last of the liquid out of the remaining dye material.
- Make sure that your dye liquid is added to a suitable stock pot type container. Add the scoured t-shirt or garment to the pot and stir gently with a wooden spoon to ensure that that all the fabric is submerged. You can manipulate the garment with your hands too, provided that the water is cool enough.
- Turn on the heat on your hob. Get the the water temperature high around 70 C so please take care, but not too high so you risk burning your hands when stirring or moving the garment around inside the pot.
- Manipulate the garment inside the dye mixture every 10 mins for at least 1 hour, squish the fabric together to ensure that the all the fibers are getting washed through with dye.
- For best results, leave the garments inside the mixture for at least 5 hours or overnight if you have time. You don’t need to re-heat the mixture during this soaking phase. Any remaining dye powder should have mostly sunk to the bottom of the container at the end of the process.
- The next stage is to drain and rinse your garment/s thoroughly under cold running water for at least 5 minutes.
- At this stage, you can treat your dyed garment/s as freshly washed laundry, so according to the care instructions, you can now dry them using either a tumble dryer or washing line.

- You can dispose of the used dye powder on your compost heap if you prefer since it is bio-degradable.
- After wearing, keep like color clothing together when machine washing. You may notice that the color fades over time, but no more than ordinary dyed clothing.
- Admire your handywork, you’ve now made a unique, all natural dye garment to enjoy!